一、oVirt简单介绍
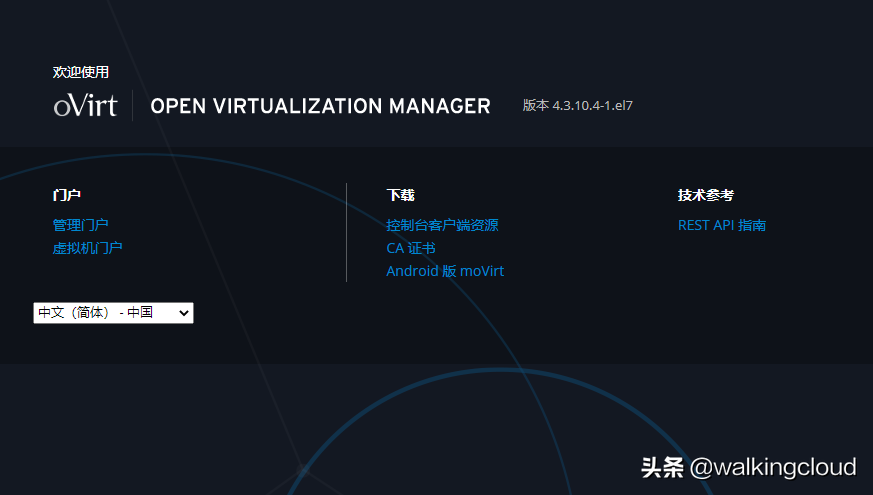
oVirt是一套开源分布式虚拟化解决方案,是RedHat虚拟化管理平台RHEV的开源版本,oVirt基于开源社区项目构建,包括libvirt,Gluster,PatternFly和Ansible。
官方网站https://www.ovirt.org/
oVirt平台由两个部分组成:oVirt-engine管理节点以及oVirt-node计算节点。
oVirt-engine属于oVirt管理端,是oVirt中的管理节点,提供web界面与用户交互,使Node节点管理可视化提供完成的企业级虚拟化平台管理能力,功能类似于vcenter
oVirt-node属于数据节点端,oVirt中的计算节点,用于运行虚拟机,其内核基于kvm,类似于exsi,并为平台运行提供计算资源
oVirt是数据中心虚拟化管理平台解决方案,快速构建私有云,主要应用于桌面云和服务器虚拟化
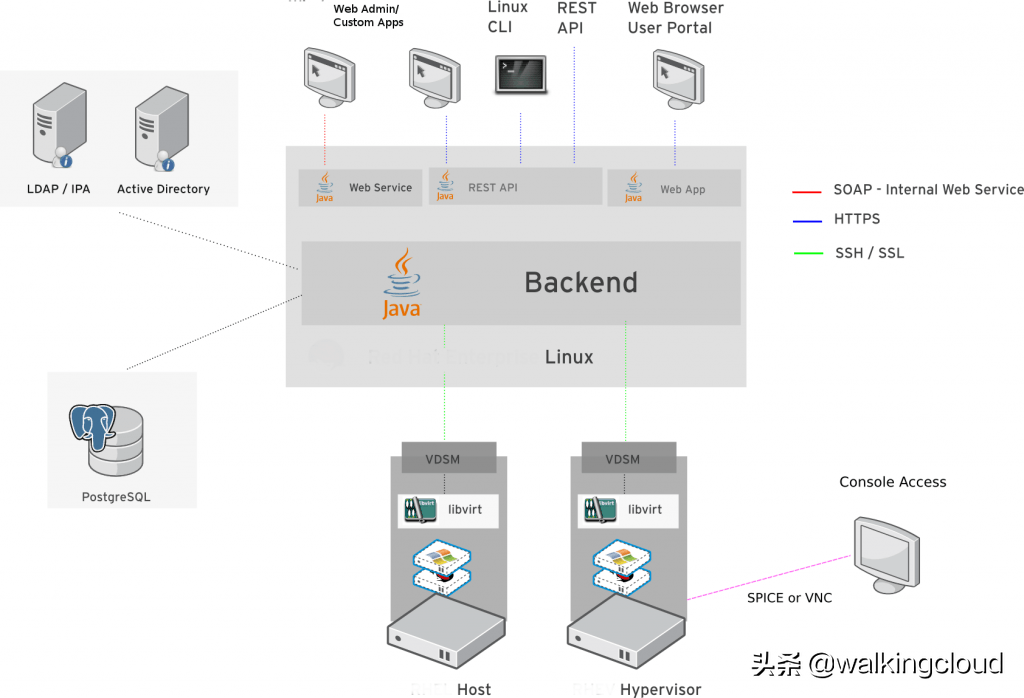
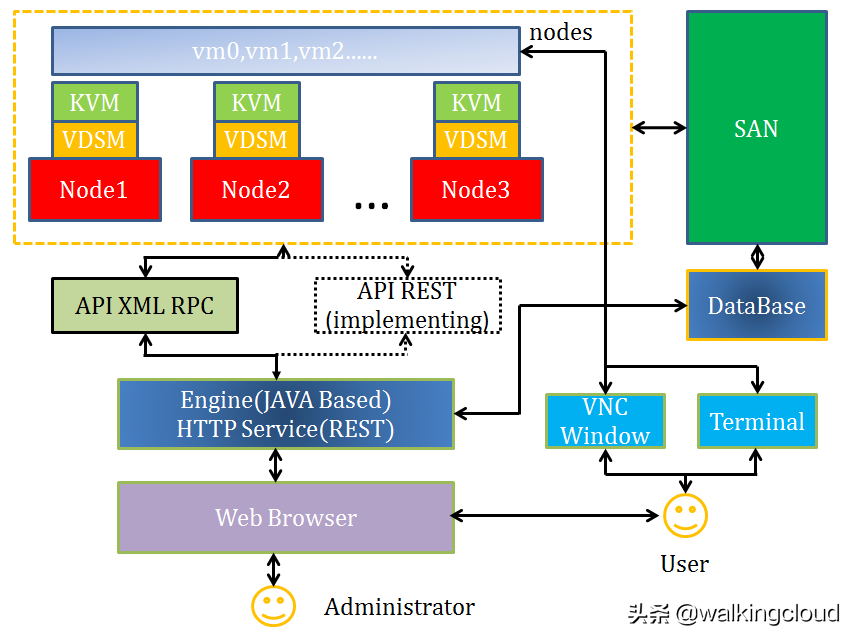
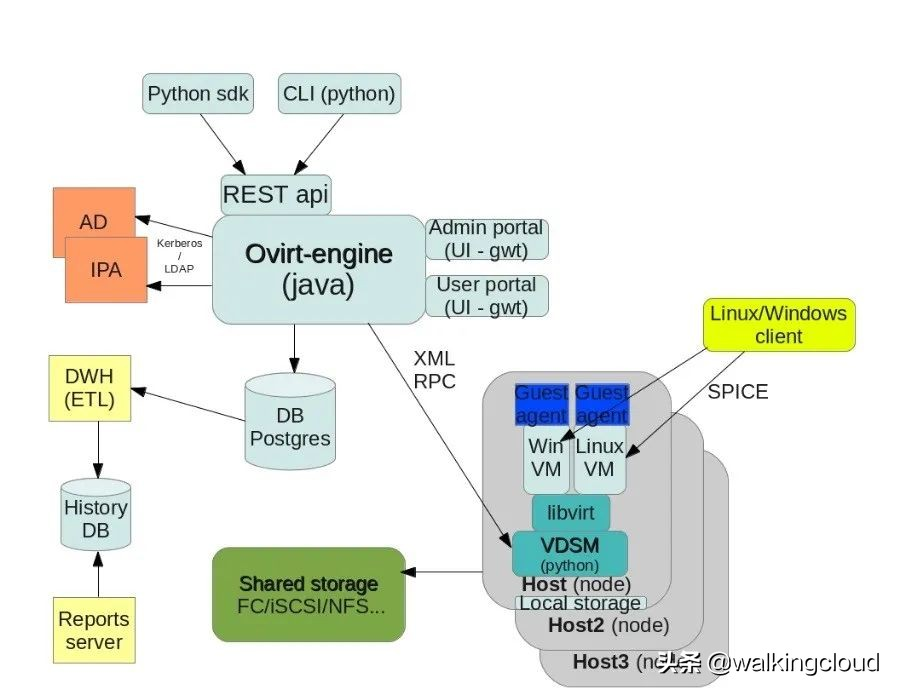
二、oVirt架构图
三、使用VMware虚拟机简单搭建oVirt虚拟化平台
1、准备条件说明
1)CentOS7.9的虚拟机一台 8G内存 6核CPU,磁盘100G左右
IP 192.168.31.84
该虚拟机作为oVirt-engine管理端节点
2)oVirt-node节点虚拟机一台, 8G内存 6核CPU,磁盘500G左右
该虚拟机作为oVirt-node计算节点
使用ovirt-node-ng-installer-4.3.10-2020060117.el7.iso镜像安装
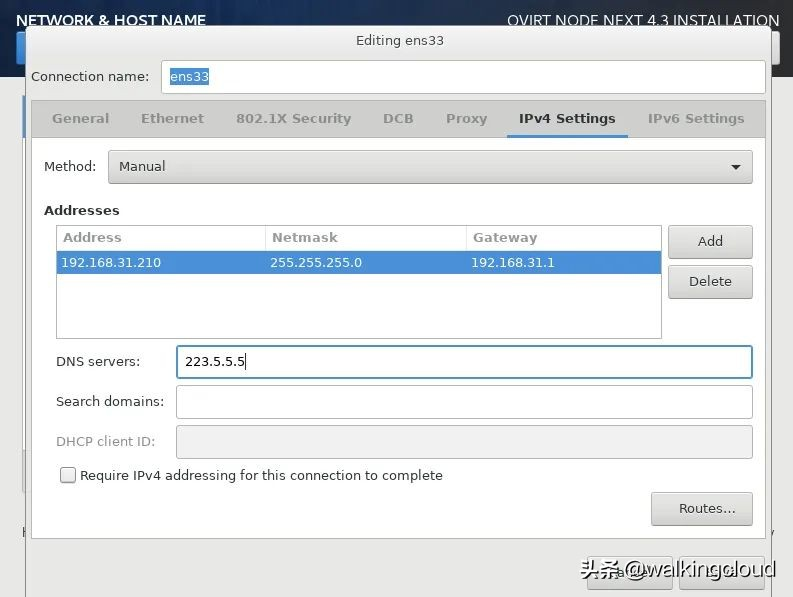
IP 192.168.31.210
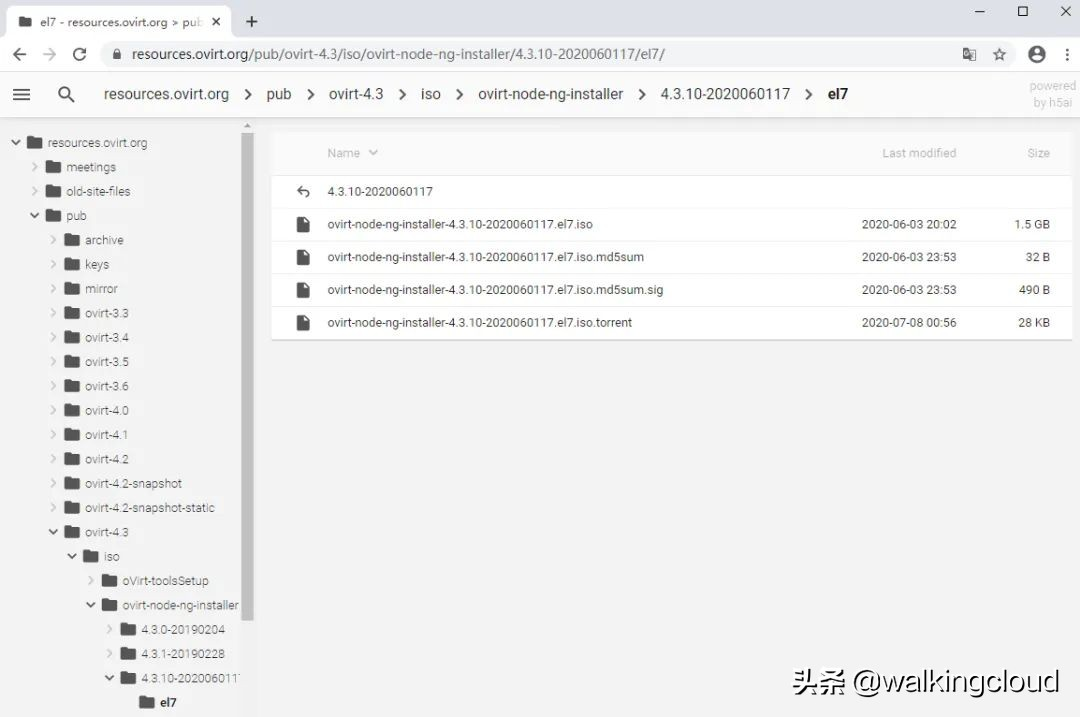
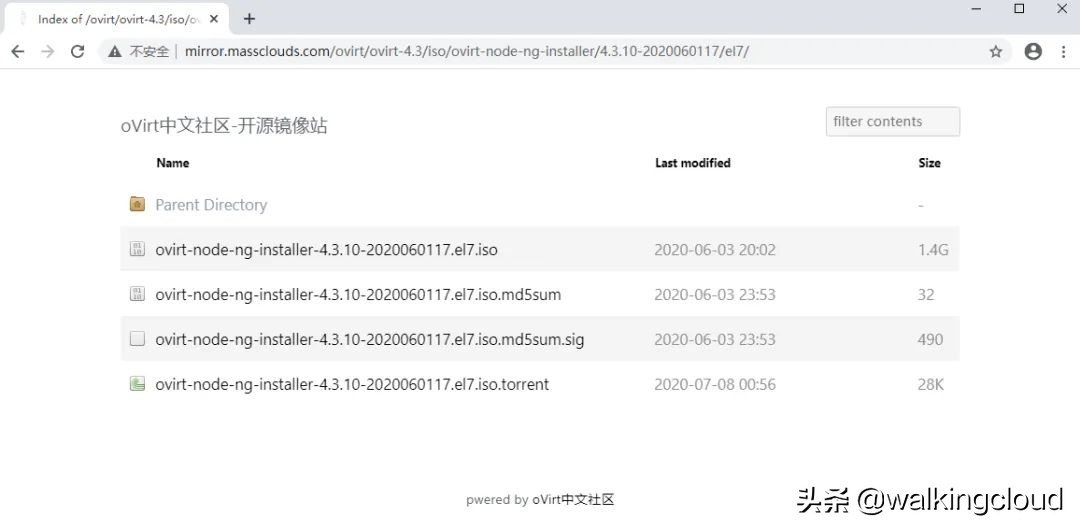
镜像下载地址
http://mirror.massclouds.com/ovirt/ovirt-4.3/iso/ovirt-node-ng-installer/4.3.10-2020060117/el7/ovirt-node-ng-installer-4.3.10-2020060117.el7.iso
或者官方镜像站下载
https://resources.ovirt.org/pub/ovirt-4.3/iso/ovirt-node-ng-installer/4.3.10-2020060117/el7/ovirt-node-ng-installer-4.3.10-2020060117.el7.iso
3)提前下载virt-viewer.msi windowsX64的安装包
本地下载virt-viewer.msi windowsX64的安装包,并安装
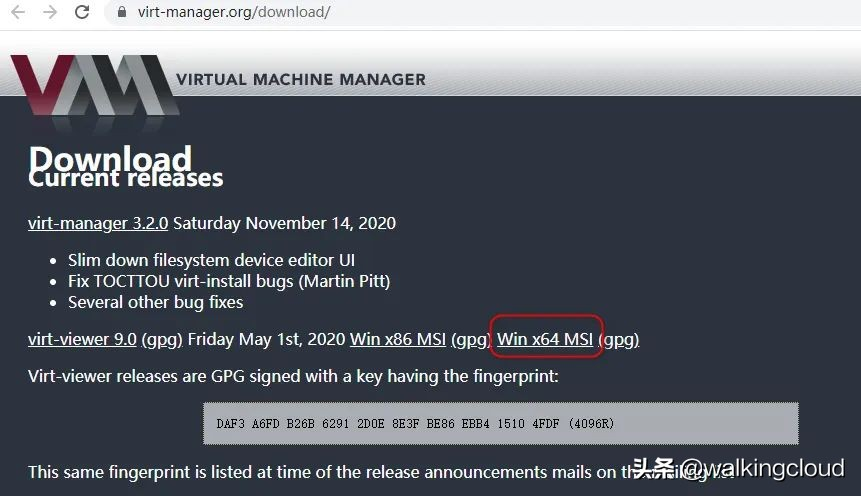
https://virt-manager.org/download/sources/virt-viewer/virt-viewer-x64-9.0.msi
2、oVirt-engine配置
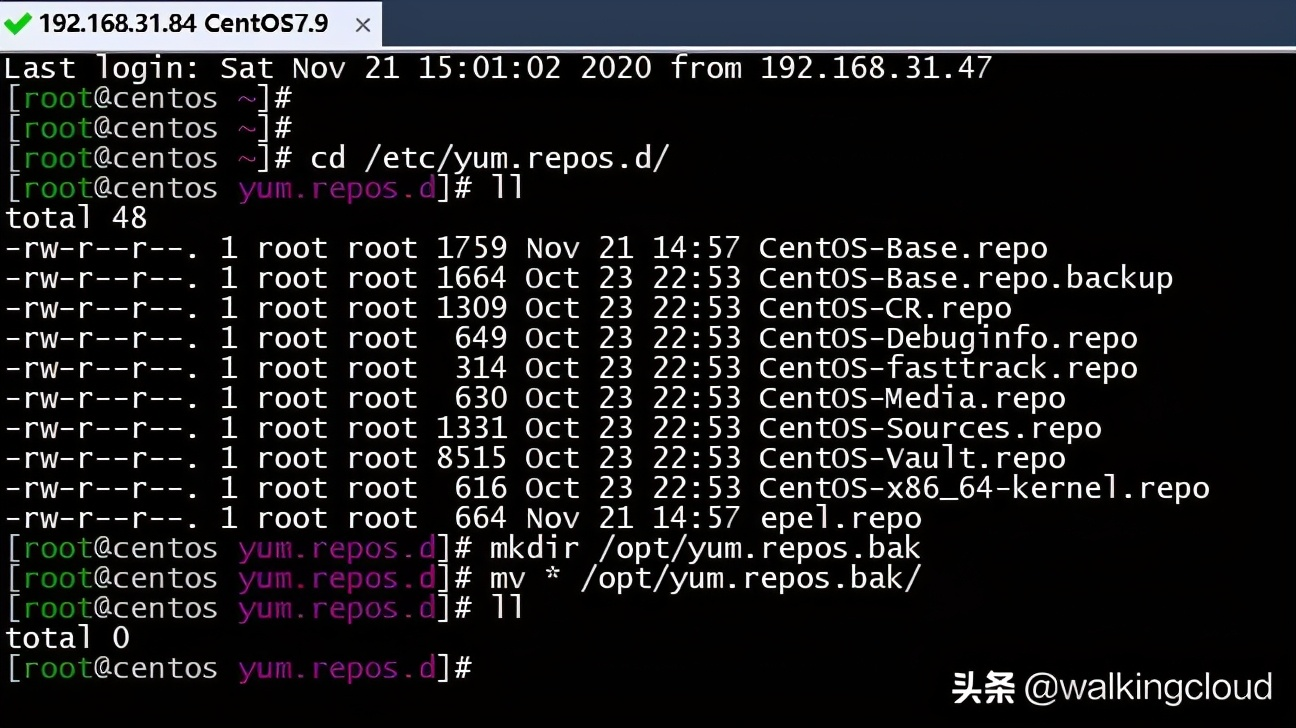
1、先配置 ovirt4.3 el7版本的yum源
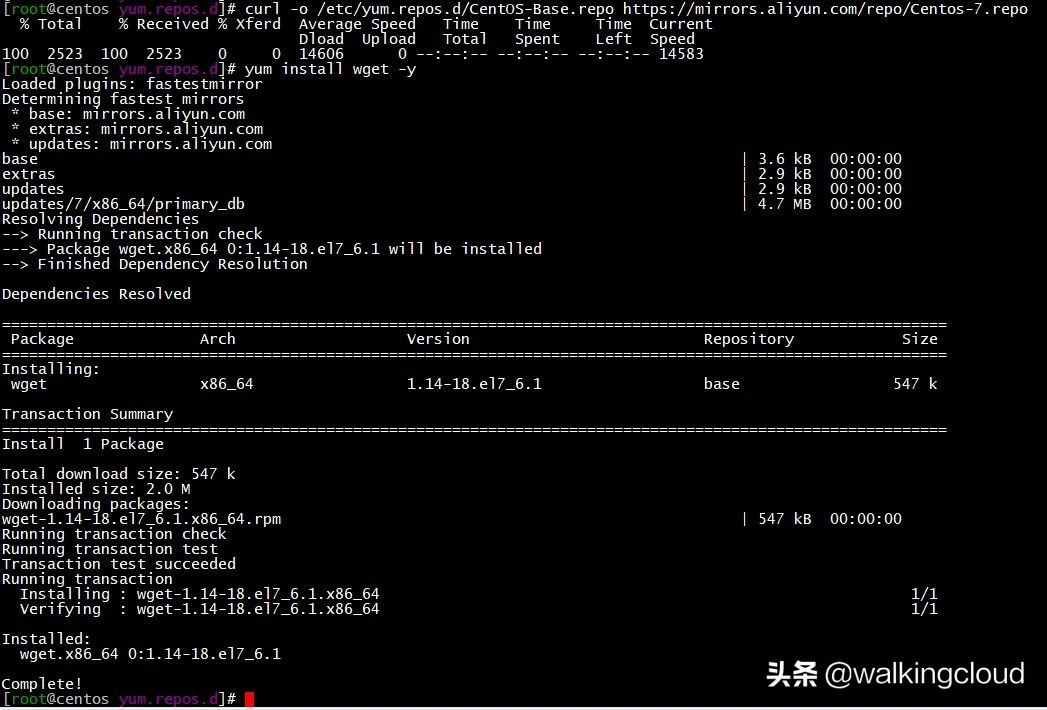
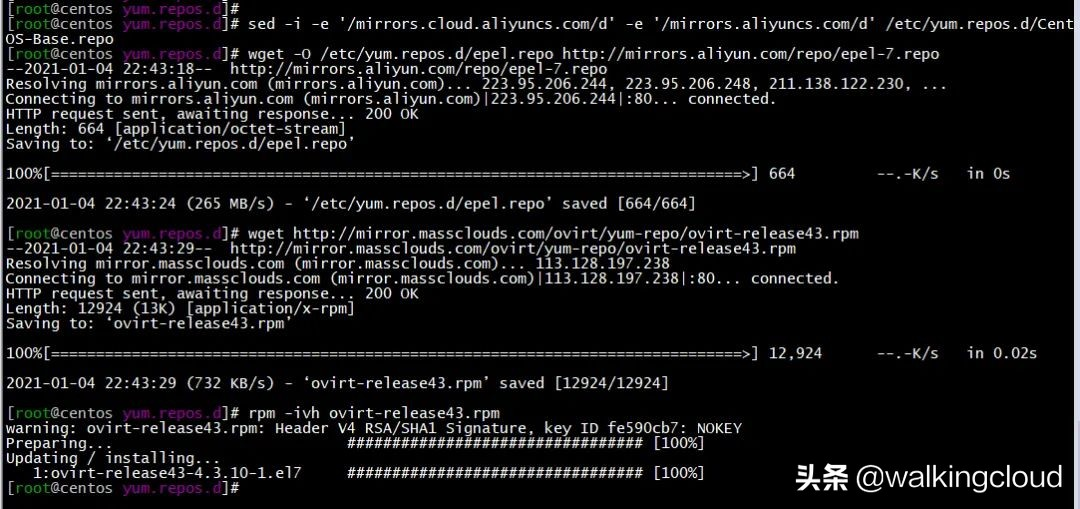
cd /etc/yum.repos.d/mkdir /opt/yum.repos.bak
mv * /opt/yum.repos.bak/curl -o /etc/yum.repos.d/CentOS-Base.repo https://mirrors.aliyun.com/repo/Centos-7.repo
yum install wget -y
sed -i -e '/mirrors.cloud.aliyuncs.com/d' -e '/mirrors.aliyuncs.com/d' /etc/yum.repos.d/CentOS-Base.repo
wget -O /etc/yum.repos.d/epel.repo http://mirrors.aliyun.com/repo/epel-7.repo
wget http://mirror.massclouds.com/ovirt/yum-repo/ovirt-release43.rpm
rpm -ivh ovirt-release43.rpm
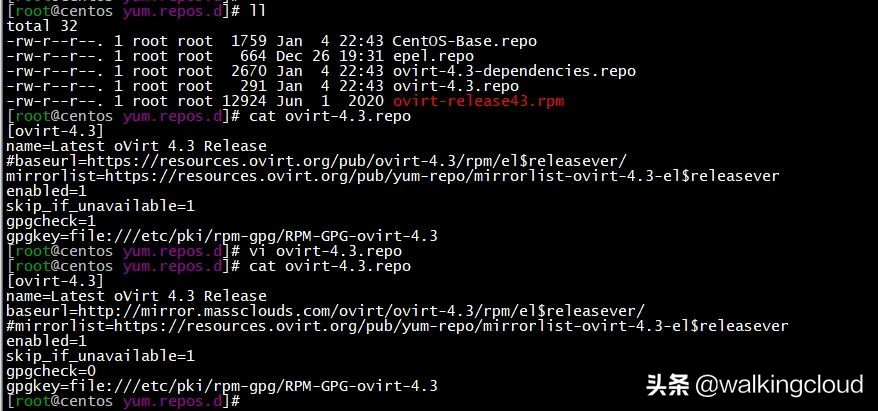
将ovirt-4.3.repo文件中URL改为oVirt中文社区-开源镜像站地址,关闭gpgcheck
vi ovirt-4.3.repo
修改成如下
[ovirt-4.3]
name=Latest oVirt 4.3 Release
baseurl=http://mirror.massclouds.com/ovirt/ovirt-4.3/rpm/el$releasever/#mirrorlist=https://resources.ovirt.org/pub/yum-repo/mirrorlist-ovirt-4.3-el$releaseverenabled=1
skip_if_unavailable=1
gpgcheck=0
gpgkey=file:///etc/pki/rpm-gpg/RPM-GPG-ovirt-4.3
并修改ovirt-4.3-dependencies.repo,也使用国内镜像站的地址,并关闭gpgcheck
sed -i "s/mirror.centos.org/mirrors.aliyun.com/g" /etc/yum.repos.d/ovirt-4.3-dependencies.repo
sed -i "s/gpgcheck=1/gpgcheck=0/g" /etc/yum.repos.d/ovirt-4.3-dependencies.repo
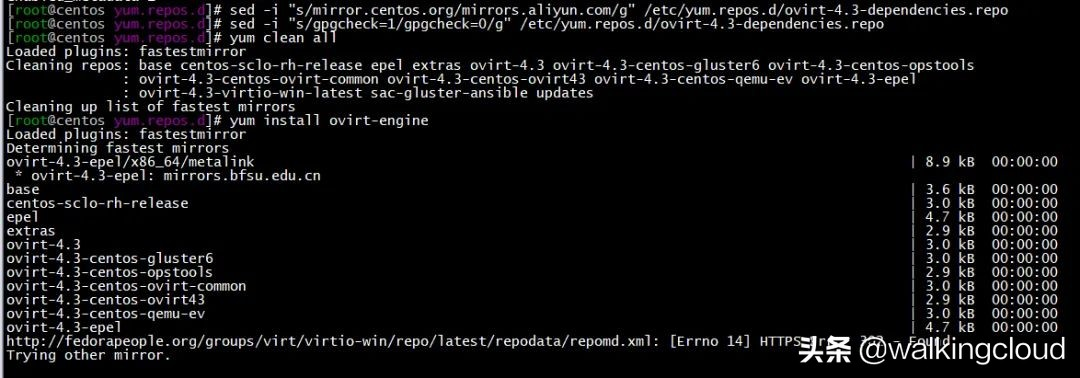
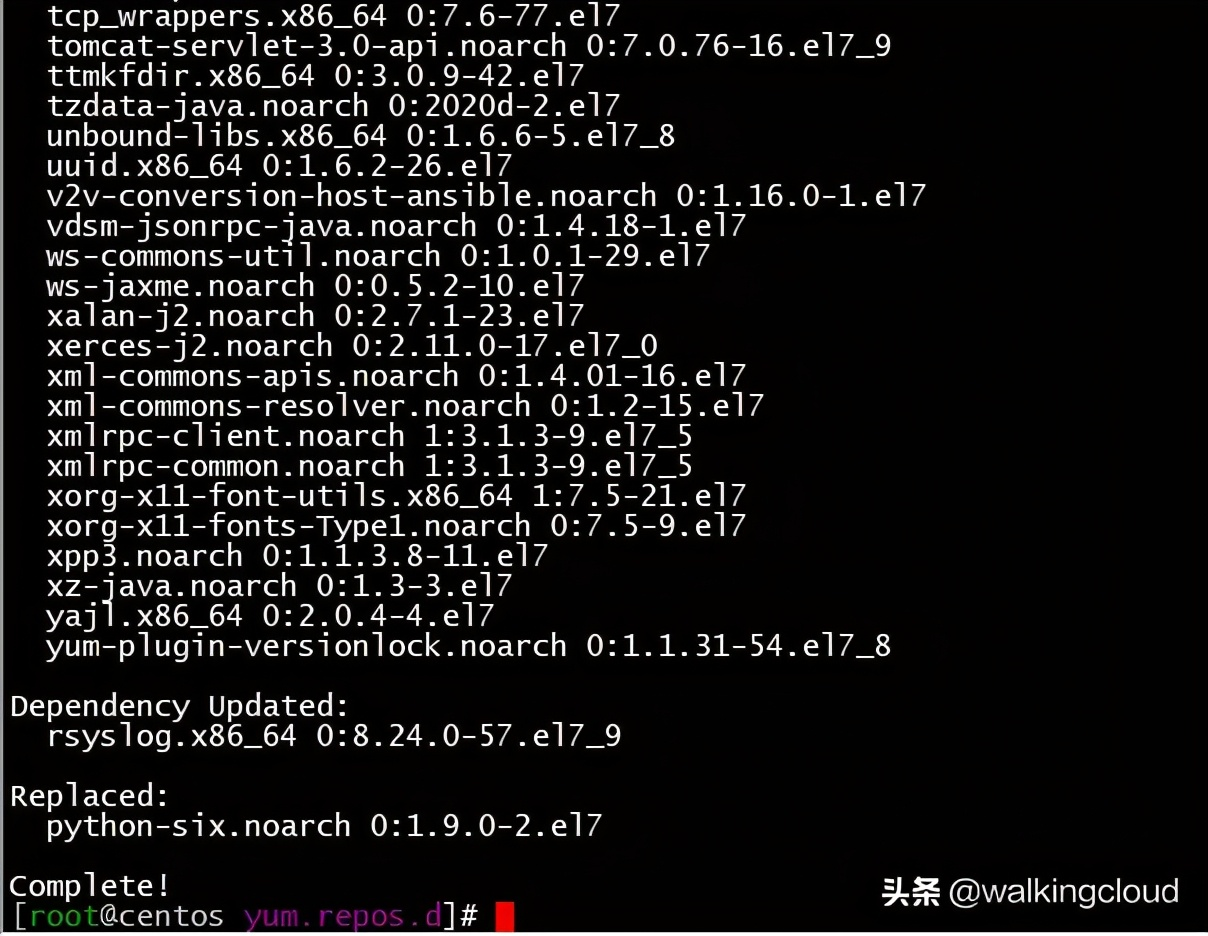
2、yum install ovirt-engine
yum clean all
yum install ovirt-engine
yum安装出现报错时再次尝试,直到安装成功

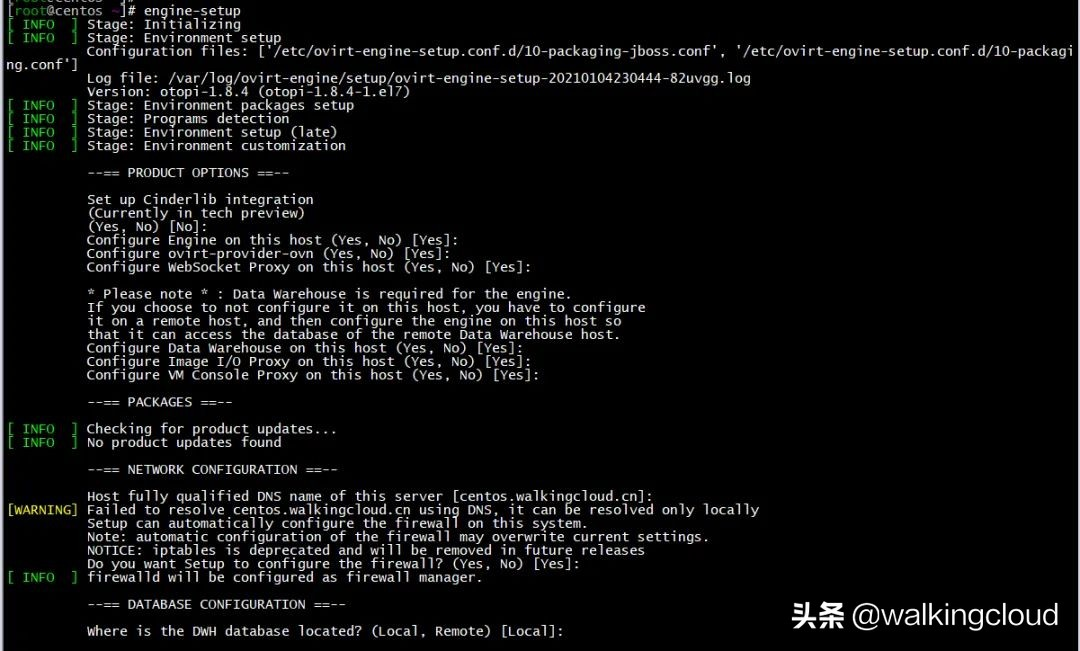
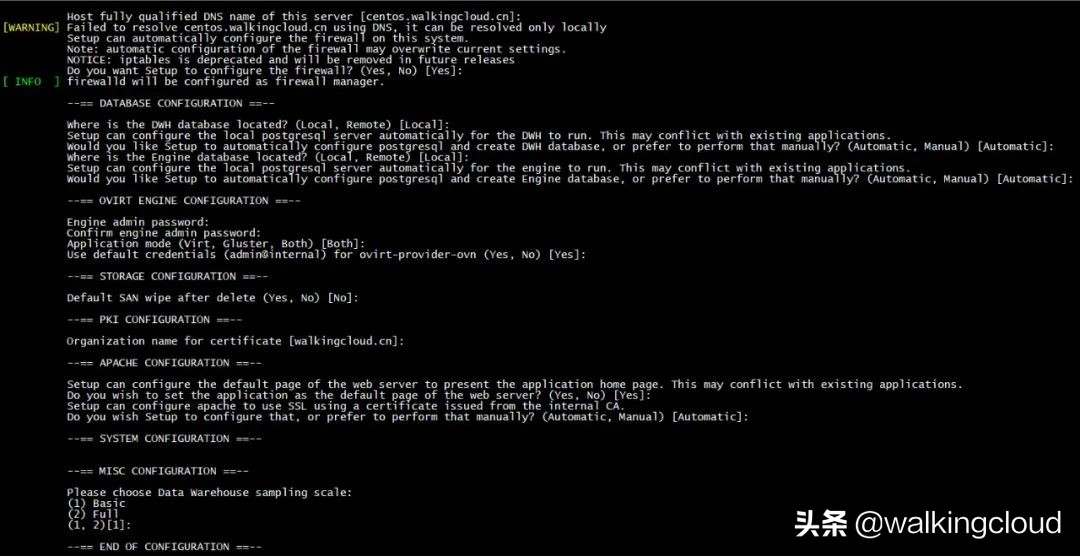
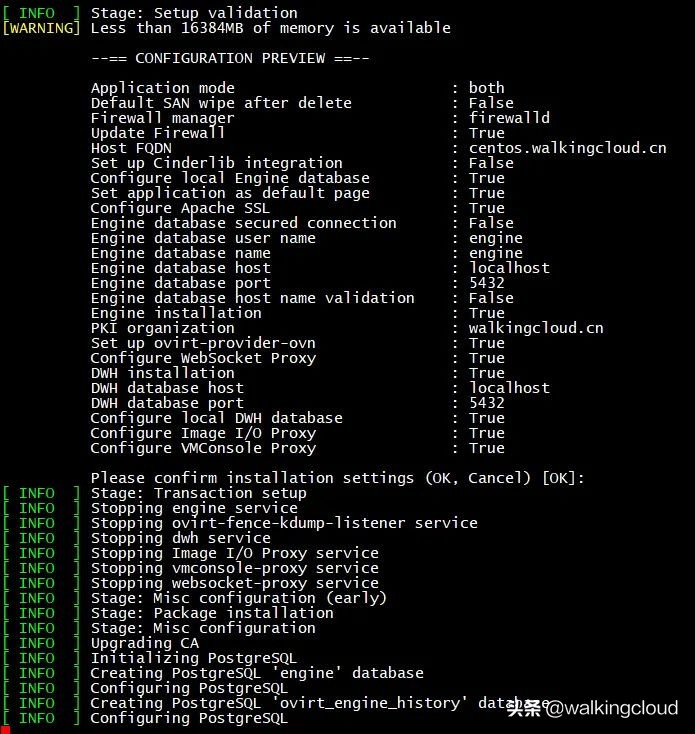
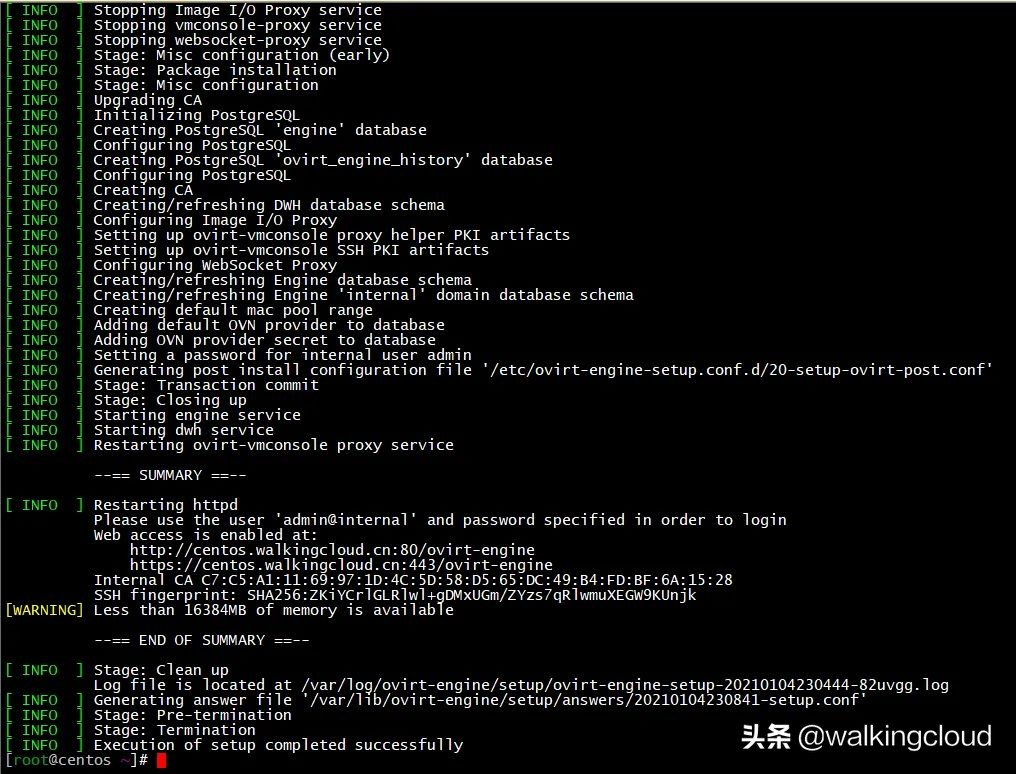
3、运行engine-setup初始化向导
engine-setup
默认采用本地自动创建Postgresql数据库的方式一路回车即可,中间设置admin管理员的密码
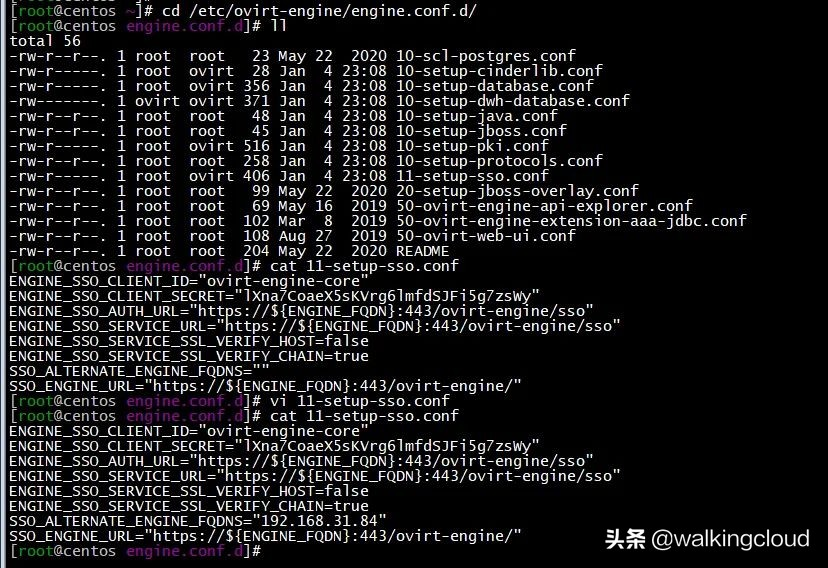
4、将FQDN登录方式改为IP地址登录方式
默认是采用FQDN的域名方式登录,为了方便起见
采用IP地址登录,需要修改配置文件cd /etc/ovirt-engine/engine.conf.d/
vi 11-setup-sso.conf
将SSO_ALTERNATE_ENGINE_FQDNS=""中填入管理节点的IP
SSO_ALTERNATE_ENGINE_FQDNS="192.168.31.84"然后重启服务生效systemctl restart ovirt-engine
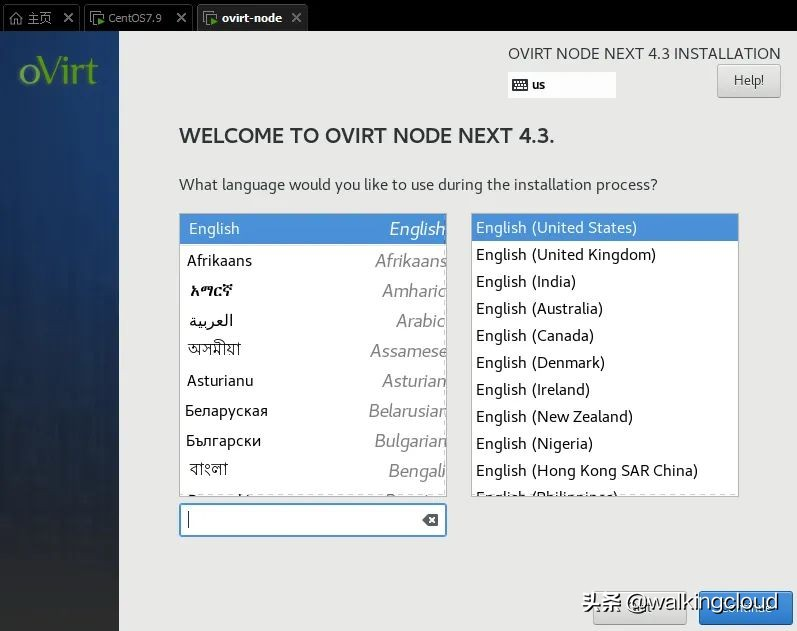
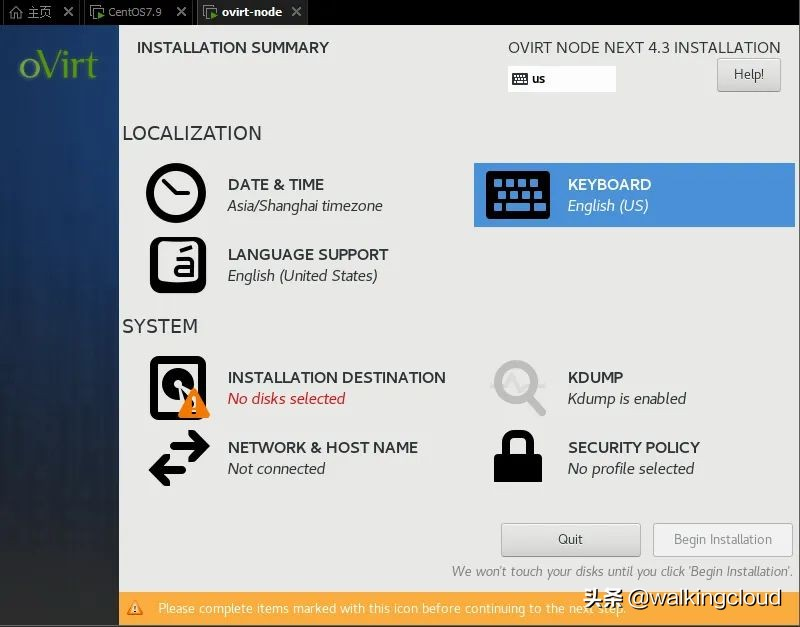
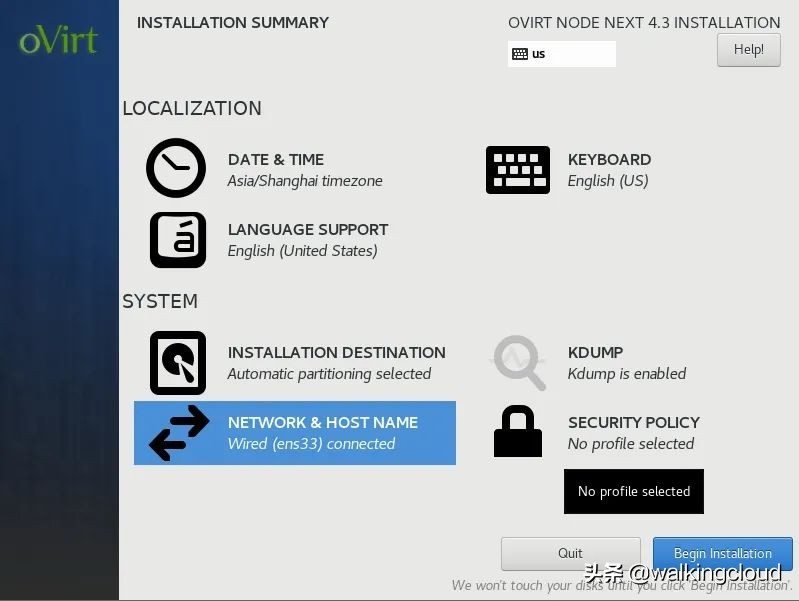
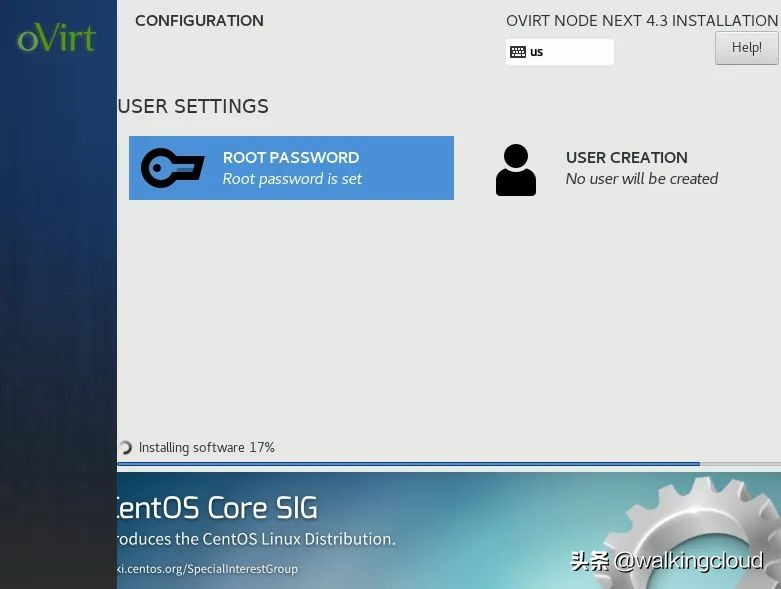
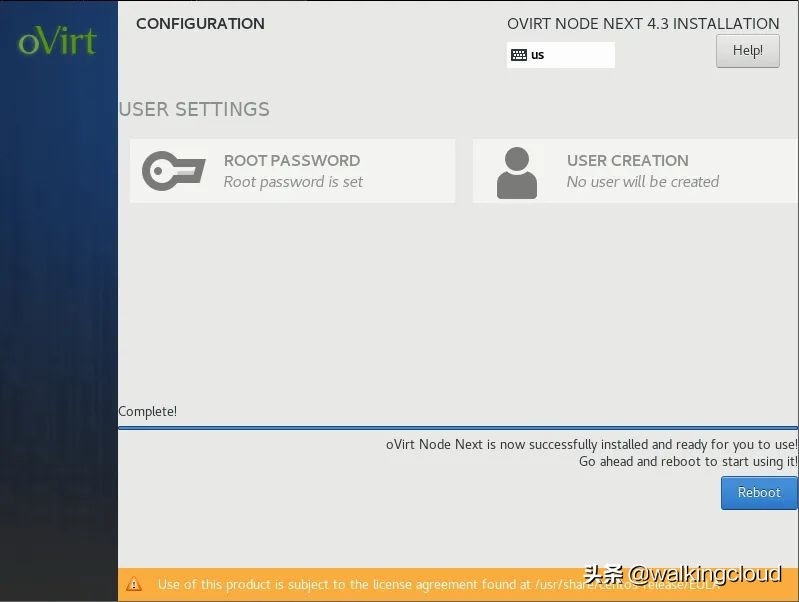
3、 ovirt-node虚拟机安装
使用ovirt-node-ng-installer-4.3.10-2020060117.el7.iso进行安装即可
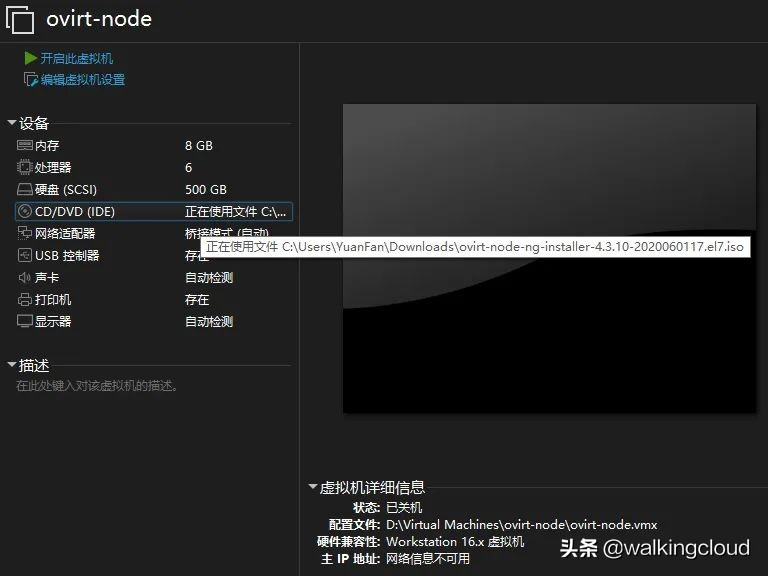
步骤就不详细描述了,见下面安装过程截图
4、oVirt集群搭建
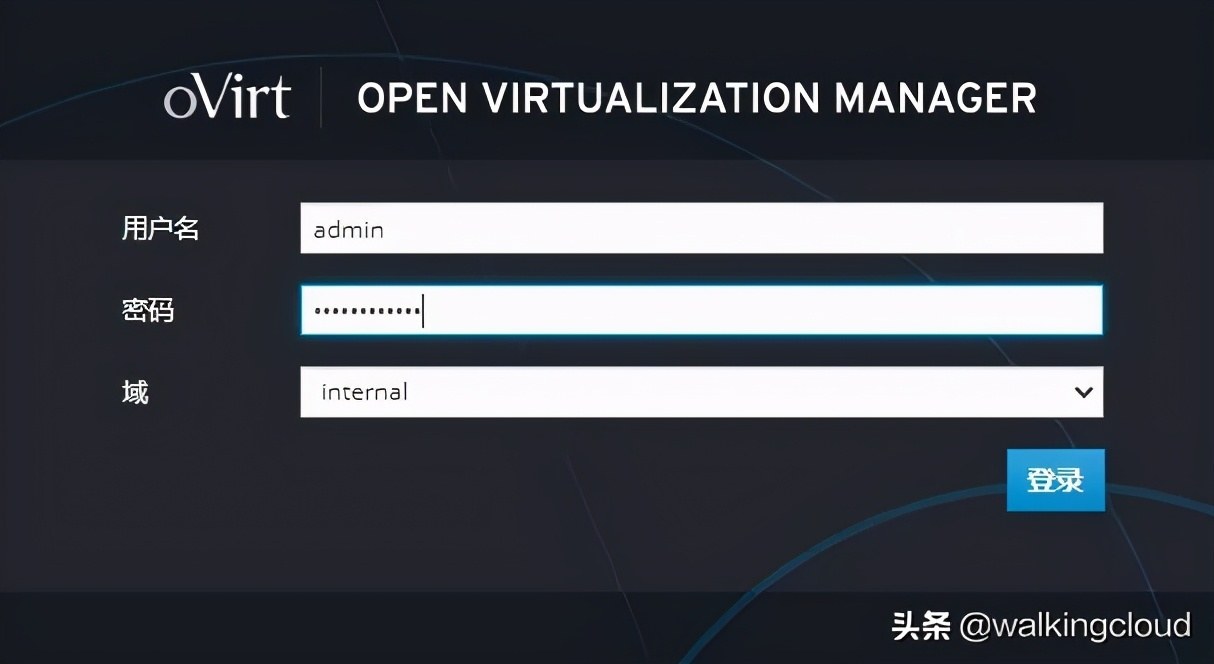
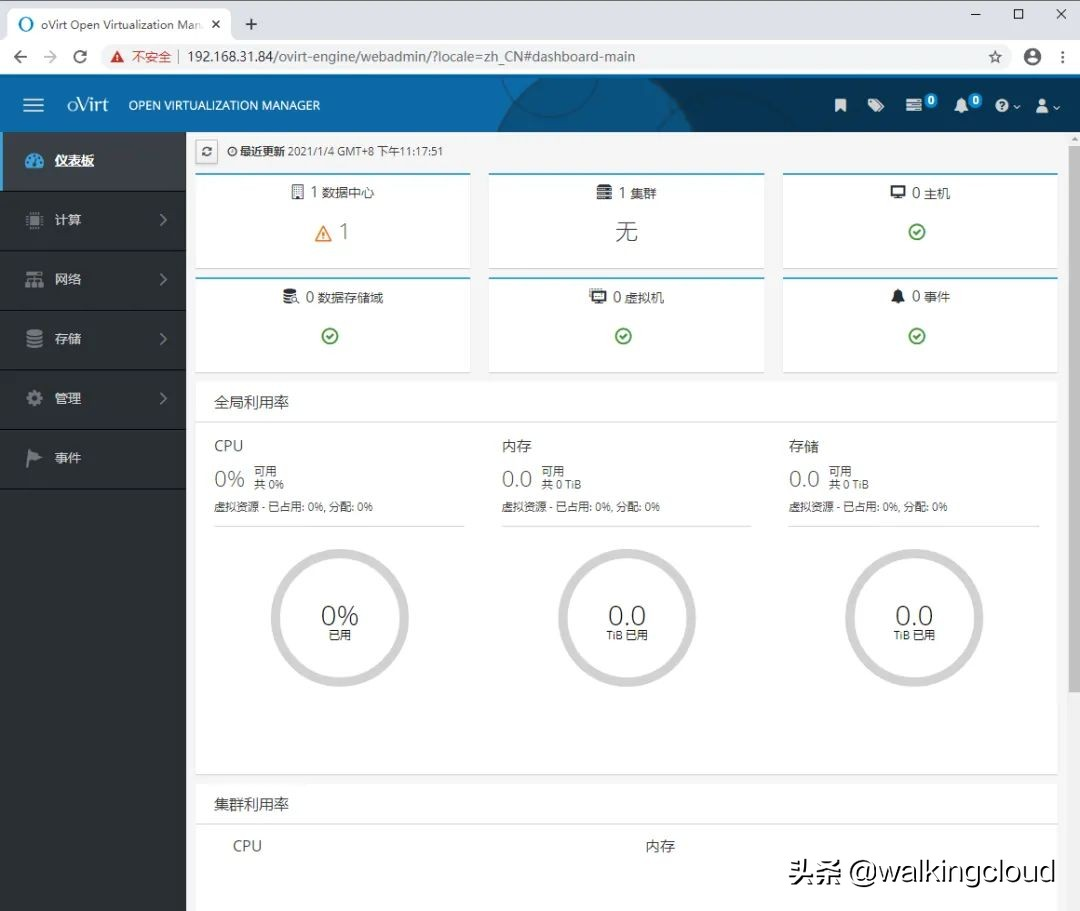
1、登录管理门户
https://192.168.31.84/ovirt-engine/ 使用之前安装设置的admin管理员密码登录
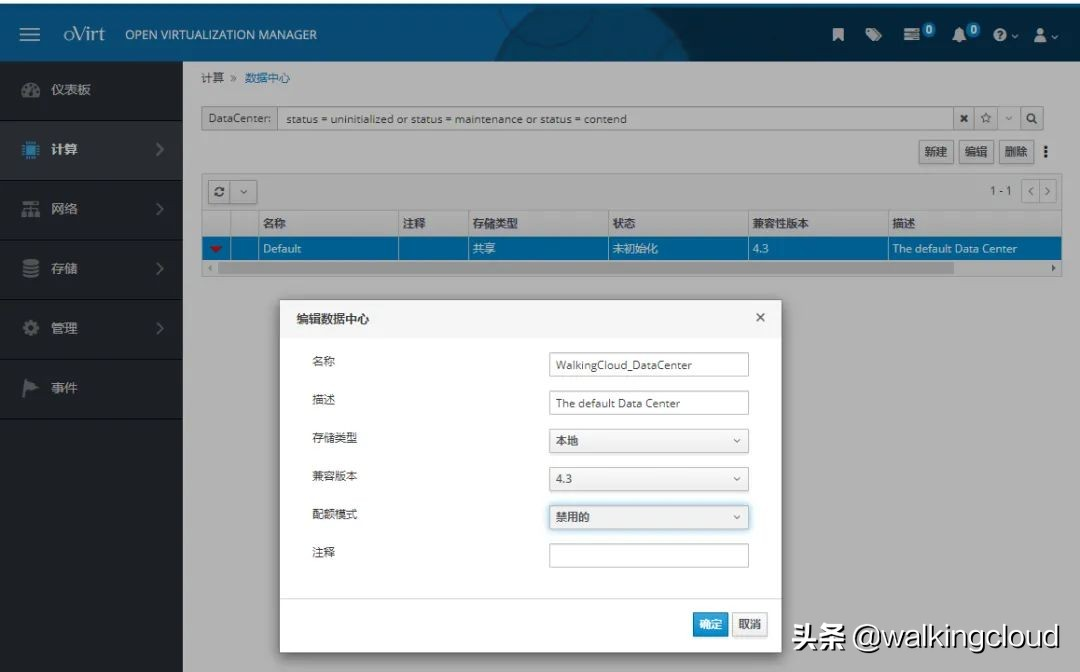
2、修改数据中心的存储类型为本地
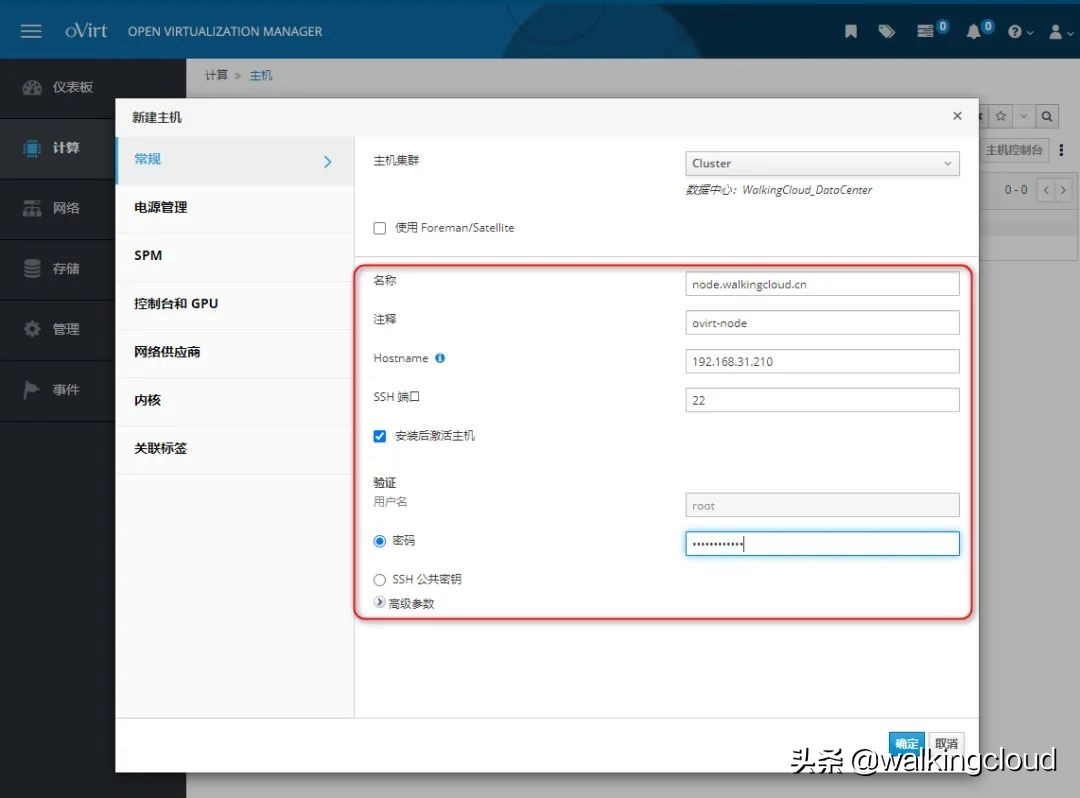
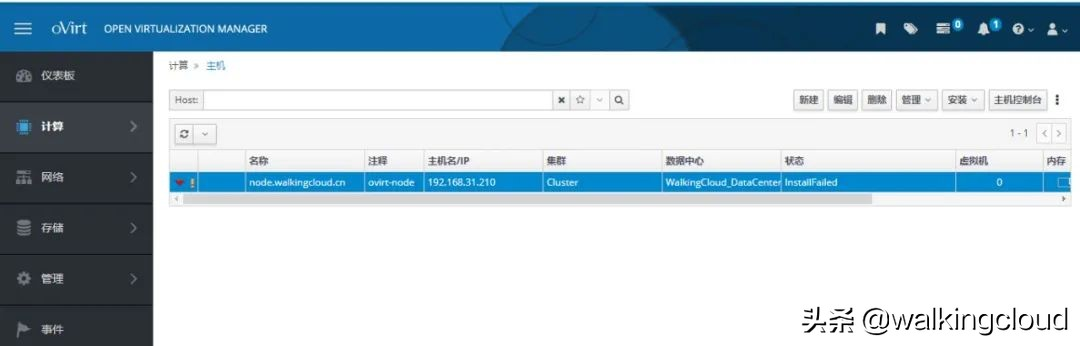
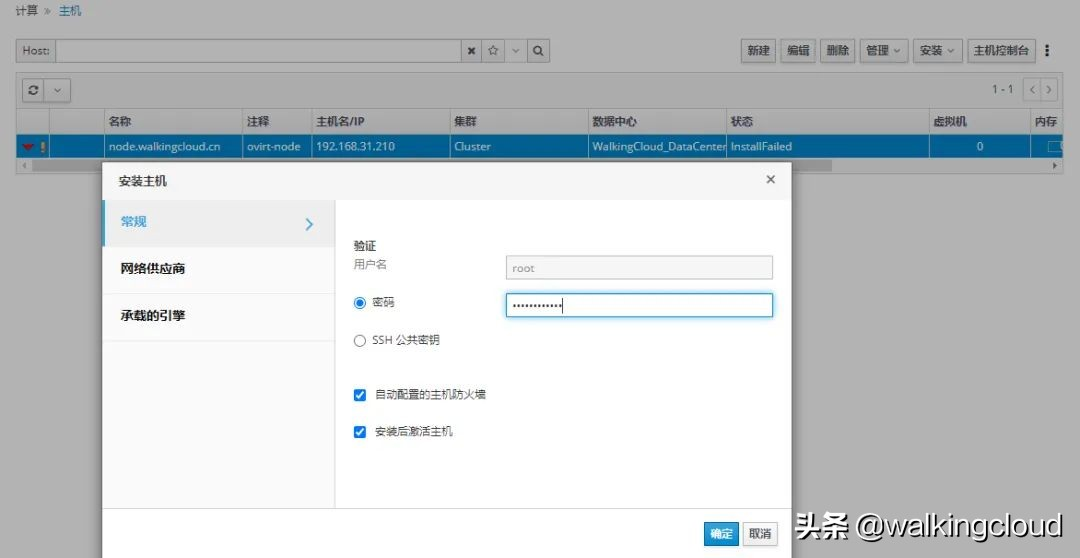
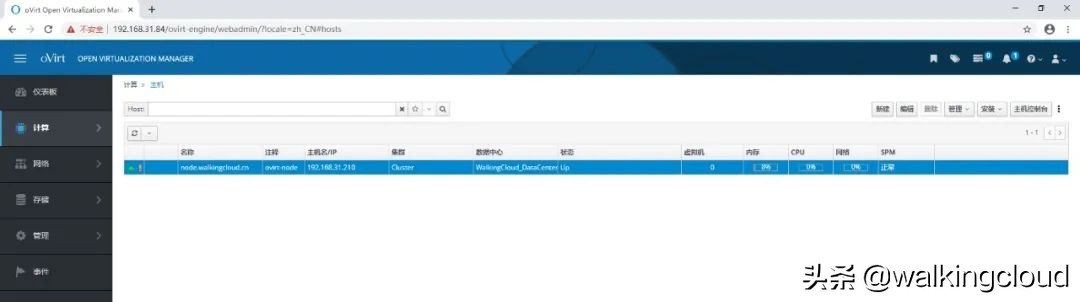
3、添加ovirt-node节点主机
添加ovirt-node节点主机192.168.31.210 输入其root账户密码点击确定即可
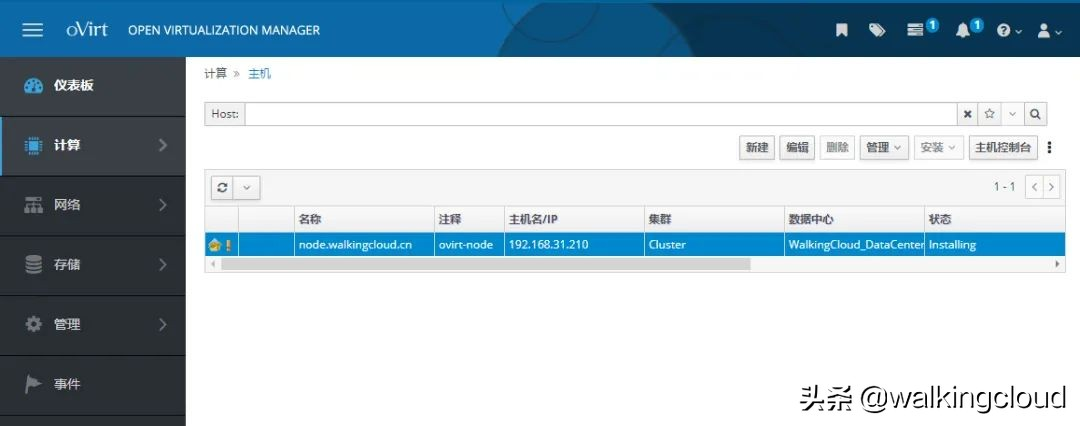

可以查看任务或者事件,观察ovirt-node节点状态
排错Tips
1、如果出现安装失败的话,建议在ovirt-node节点主机按上面的方法配置ovirt4.3 el7版本的yum源再重新添加
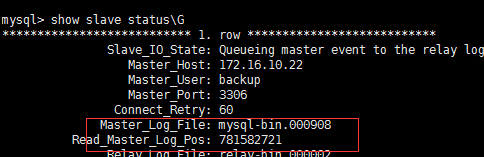
2、如果添加成功了,发现ovirt-node节点状态为NonOperational不可用状态
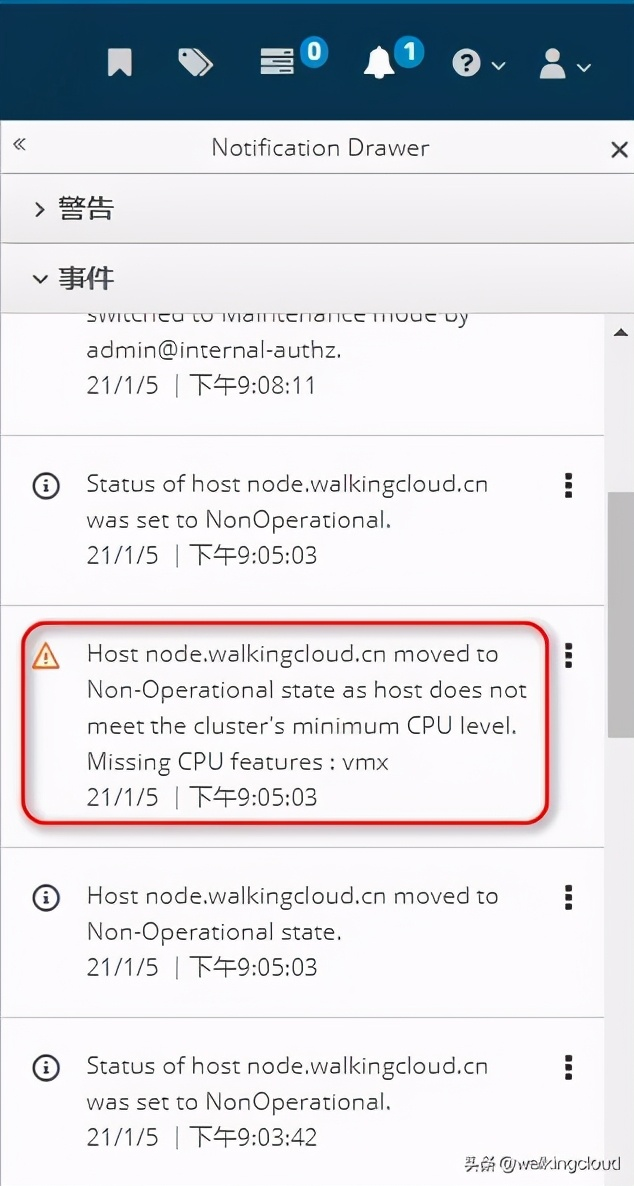
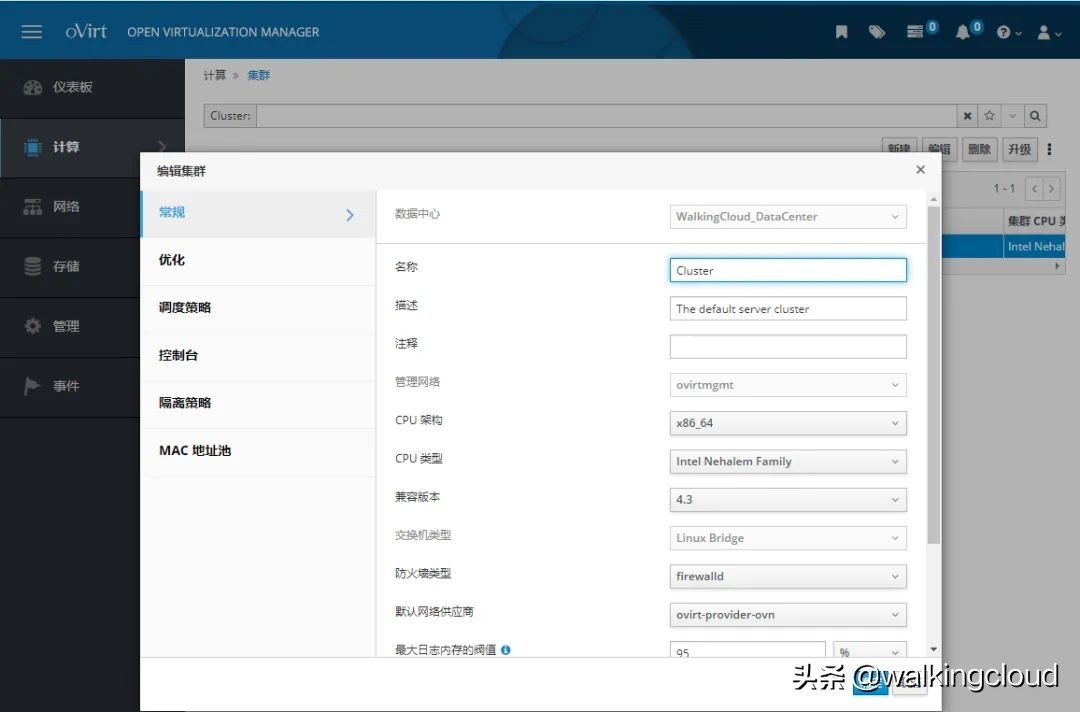
原因为图中红圈所示缺少CPU features:vmx,而搭建的VMware虚拟机的宿主机为AMD CPU,所以会报这个错,导致节点不可用 因为集群设置中CPU为Intel类型
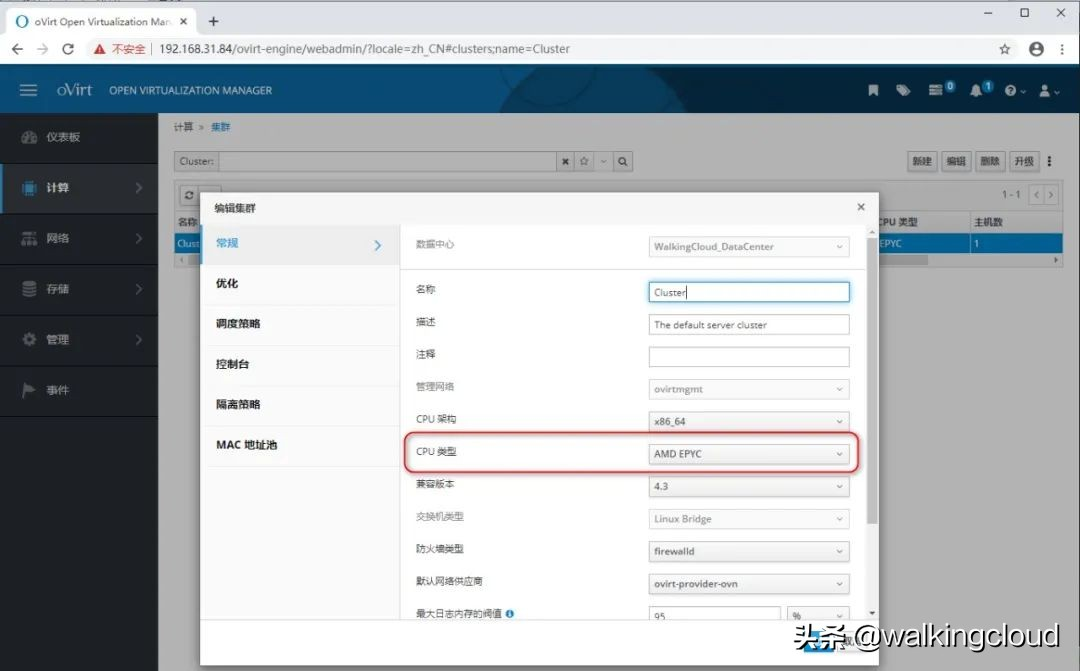
解决办法: 将ovirt-node节点置为维护状态,然后集群设置CPU类型为AMD EPYC后,激活ovirt-node节点就可以看到ovirt-node节点状态为UP了
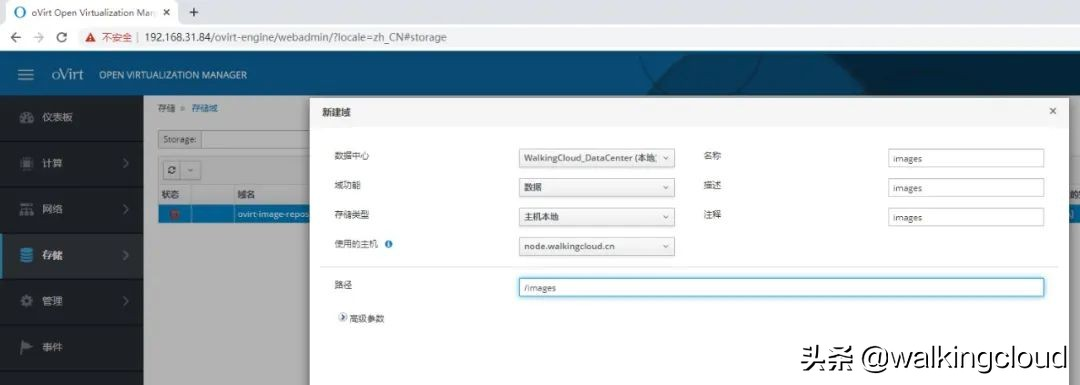
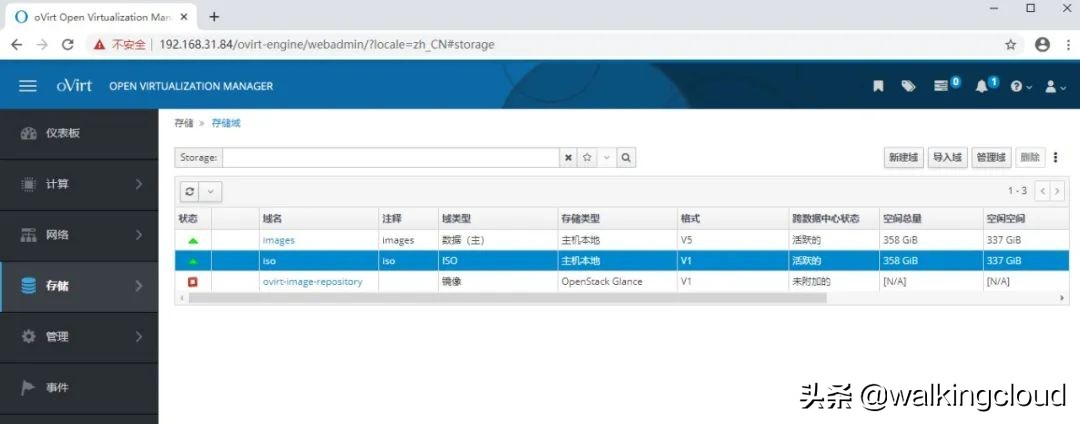
4、存储配置
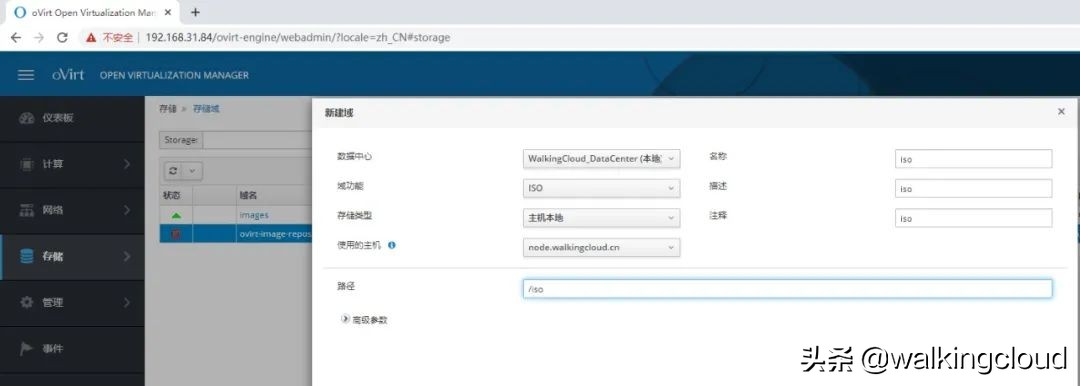
1)添加数据域和ISO域
数据域可以理解为虚拟机本身占用的磁盘空间
ISO域可以理解为虚拟机安装时使用ISO镜像,ISO镜像文件需要存放的磁盘空间
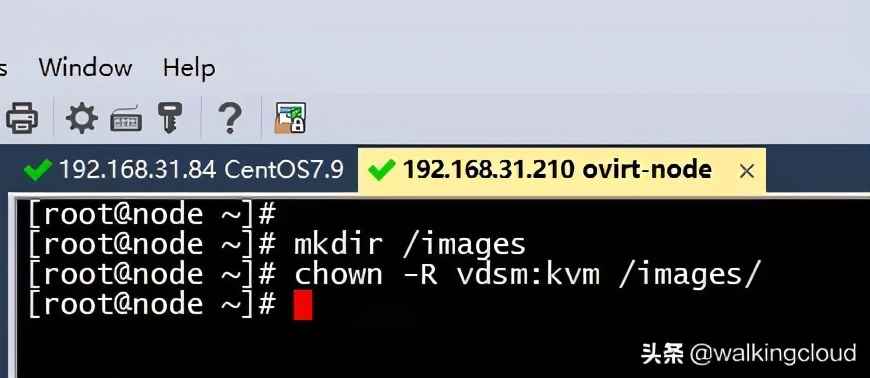
添加数据域
mkdir /imageschown -R vdsm:kvm /images/
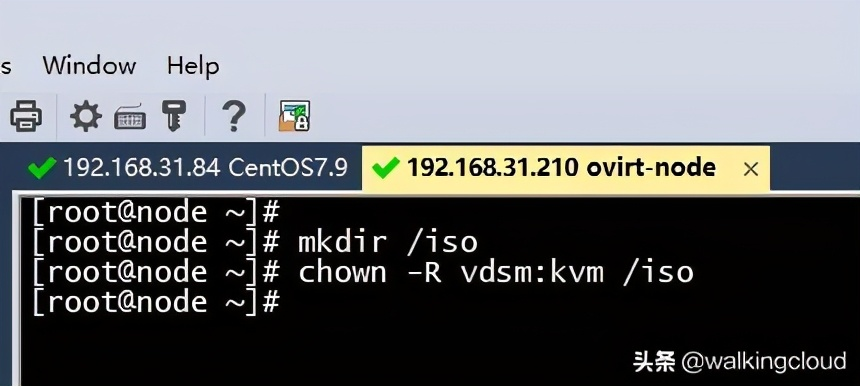
添加ISO域
mkdir /isochown -R vdsm:kvm /iso
并SFTP方式上传一个CentOS7的测试镜像ISO文件
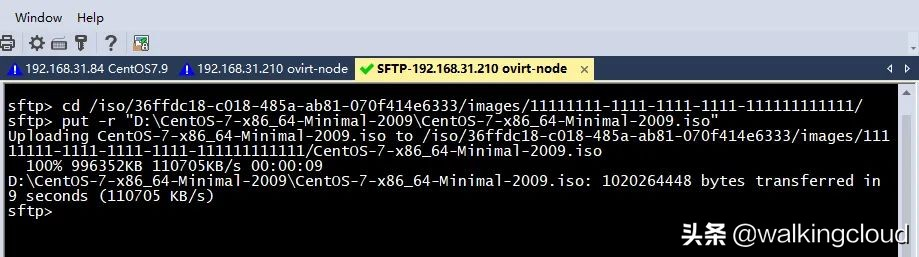
必须存放在这个目录下 /iso/36ffdc18-c018-485a-ab81-070f414e6333/images/11111111-1111-1111-1111-111111111111/ 才会在ISO域Web界面中看到镜像ISO文件

5、新建虚拟机
实例镜像添加一个,大小约为50G
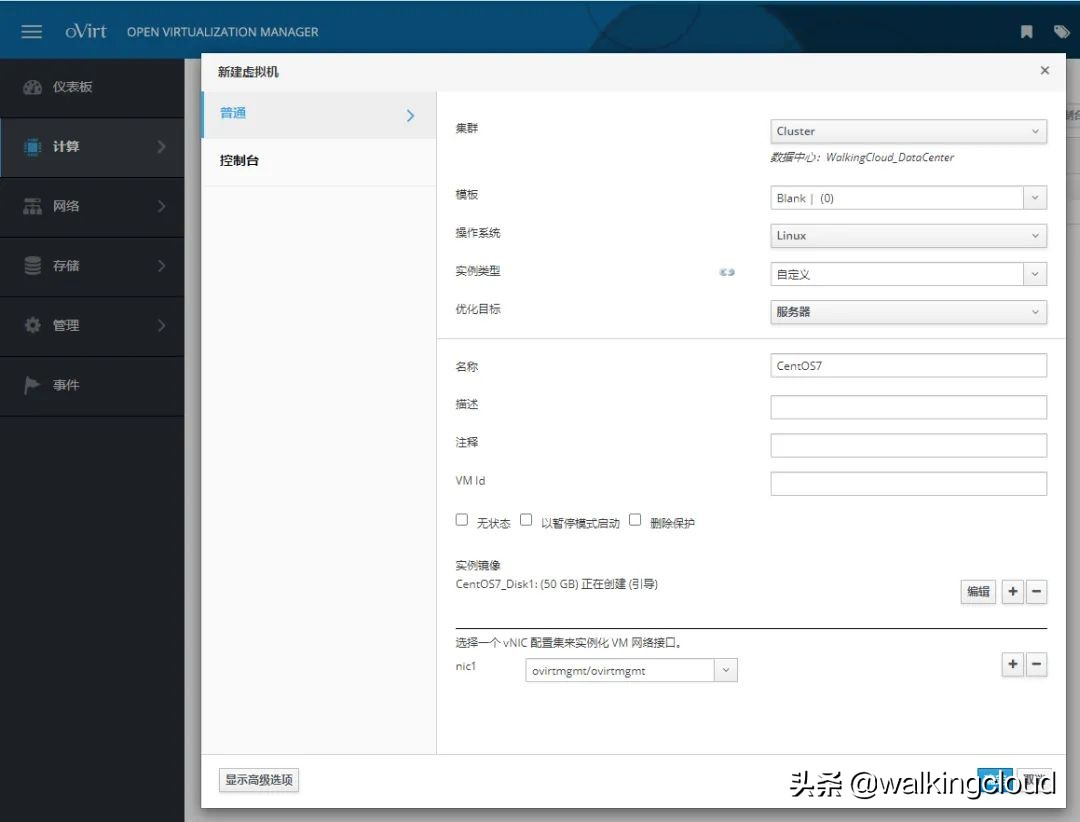
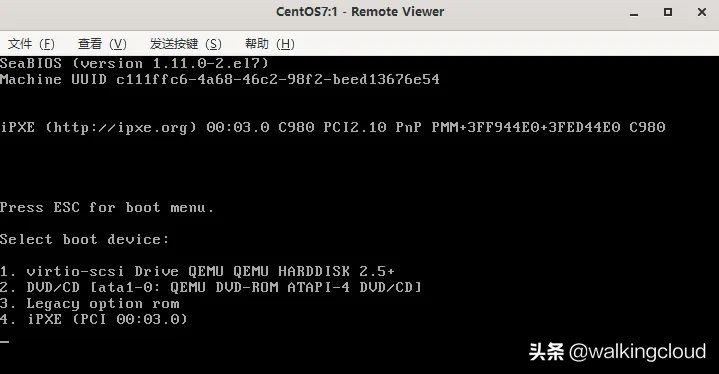
打开高级选项:引导序列第一个设备设置为硬盘,第二个设备设置CD-ROM 并启用引导菜单
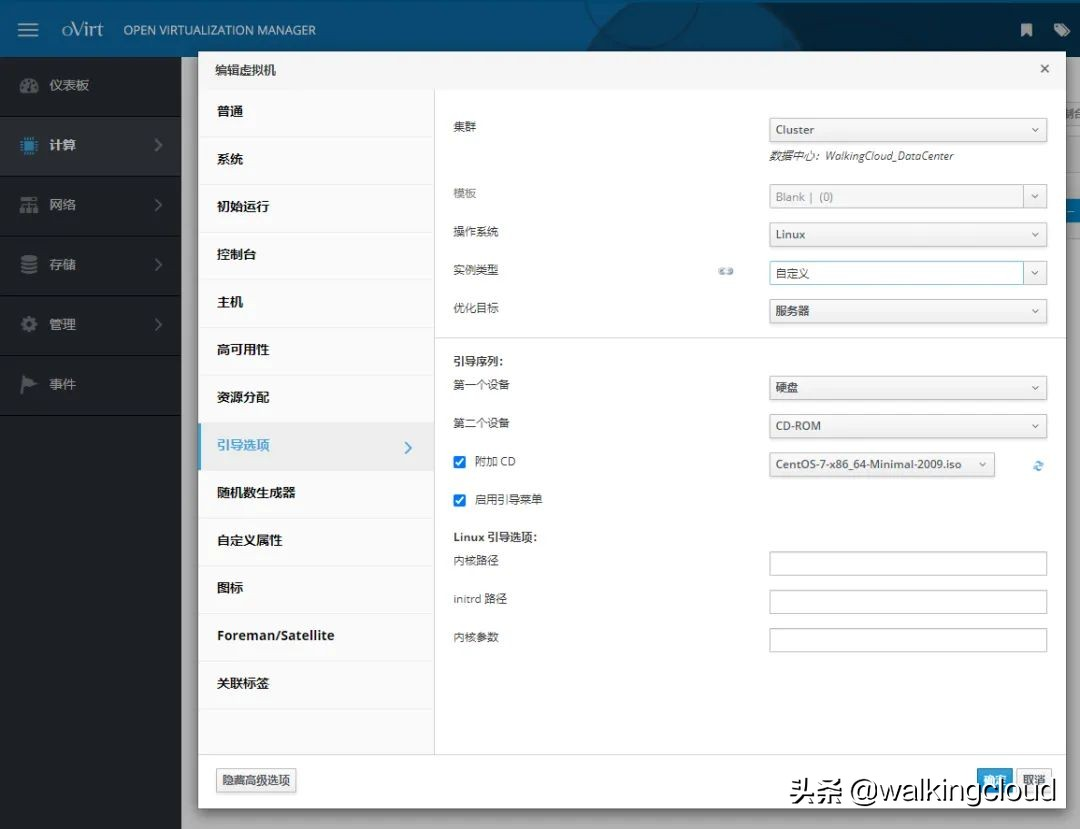
点击虚拟机并运行
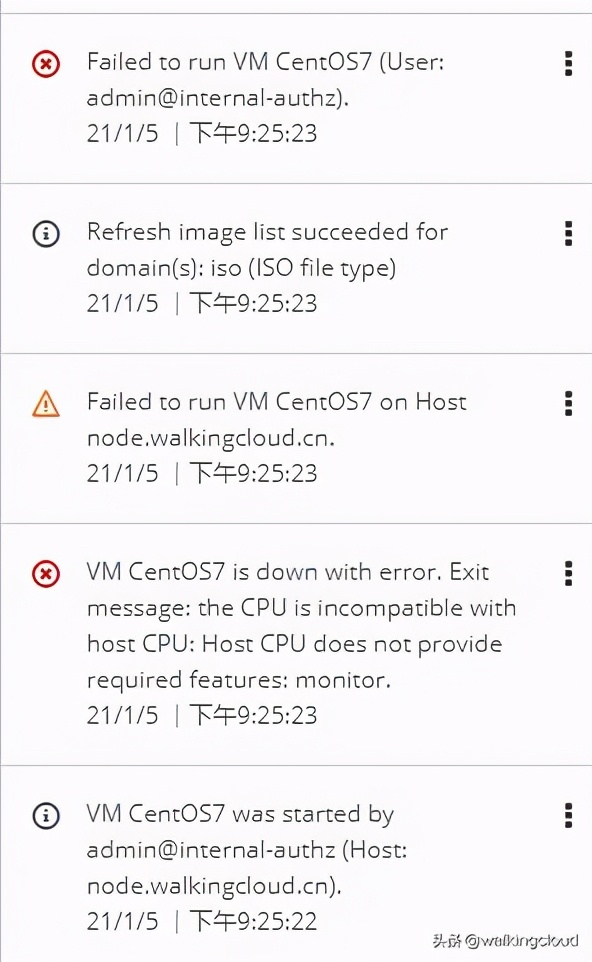
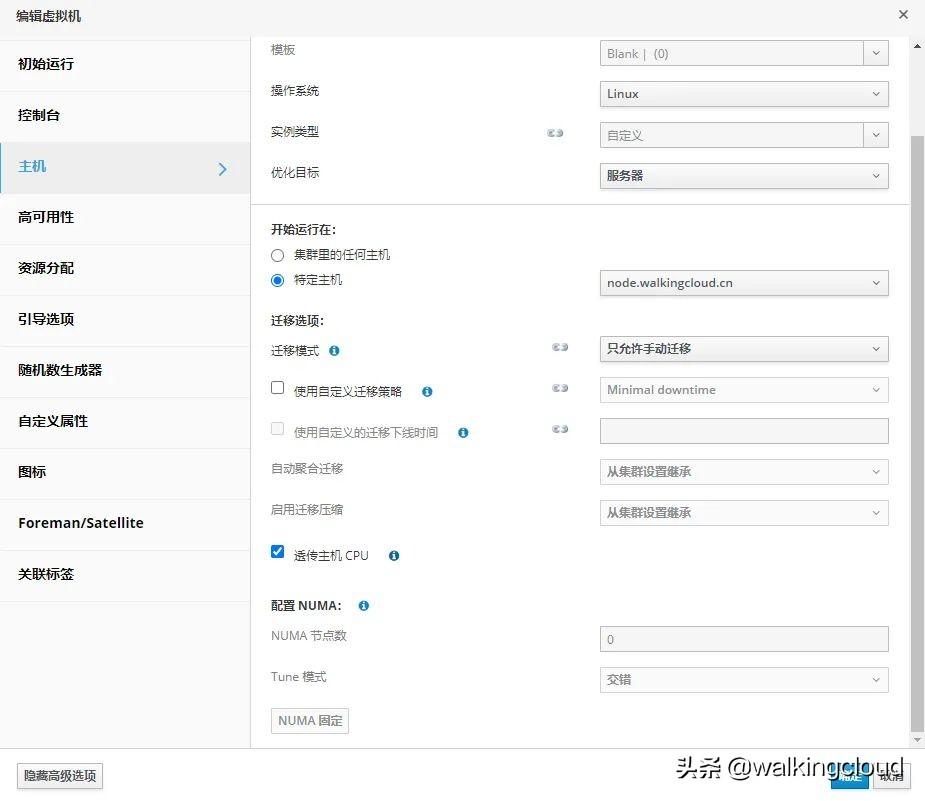
排错Tips
出现启动失败,查看事件有如下报错,勾选透传主机CPU后解决
可以正常启动虚拟机后,点击控制台,使用virt-viewer打开console.vv文件即可看到虚拟机的控制台, 如下图所示
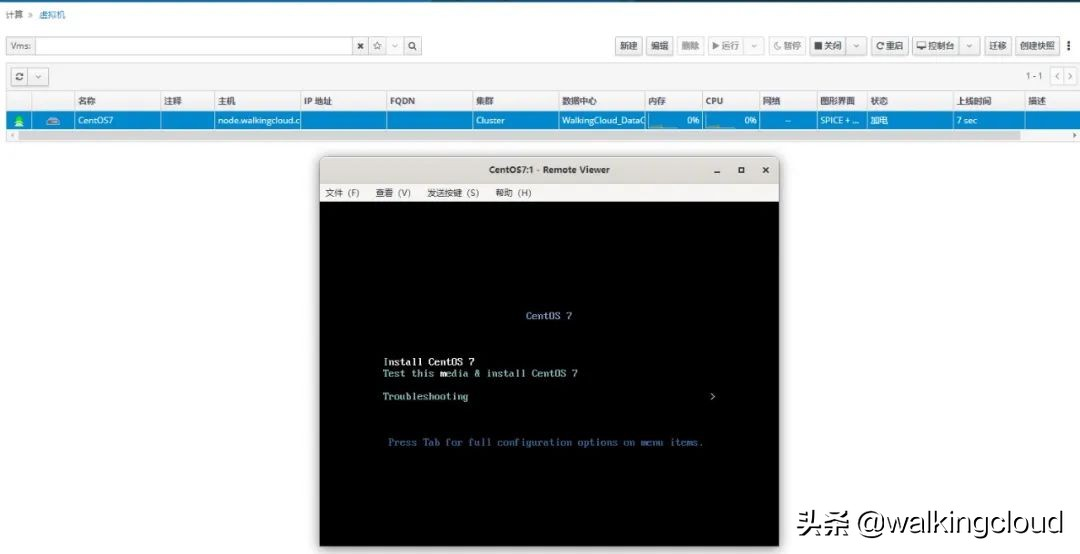
6、虚拟机安装操作系统
按ESC先选DVD/CD从光驱启动安装操作系统
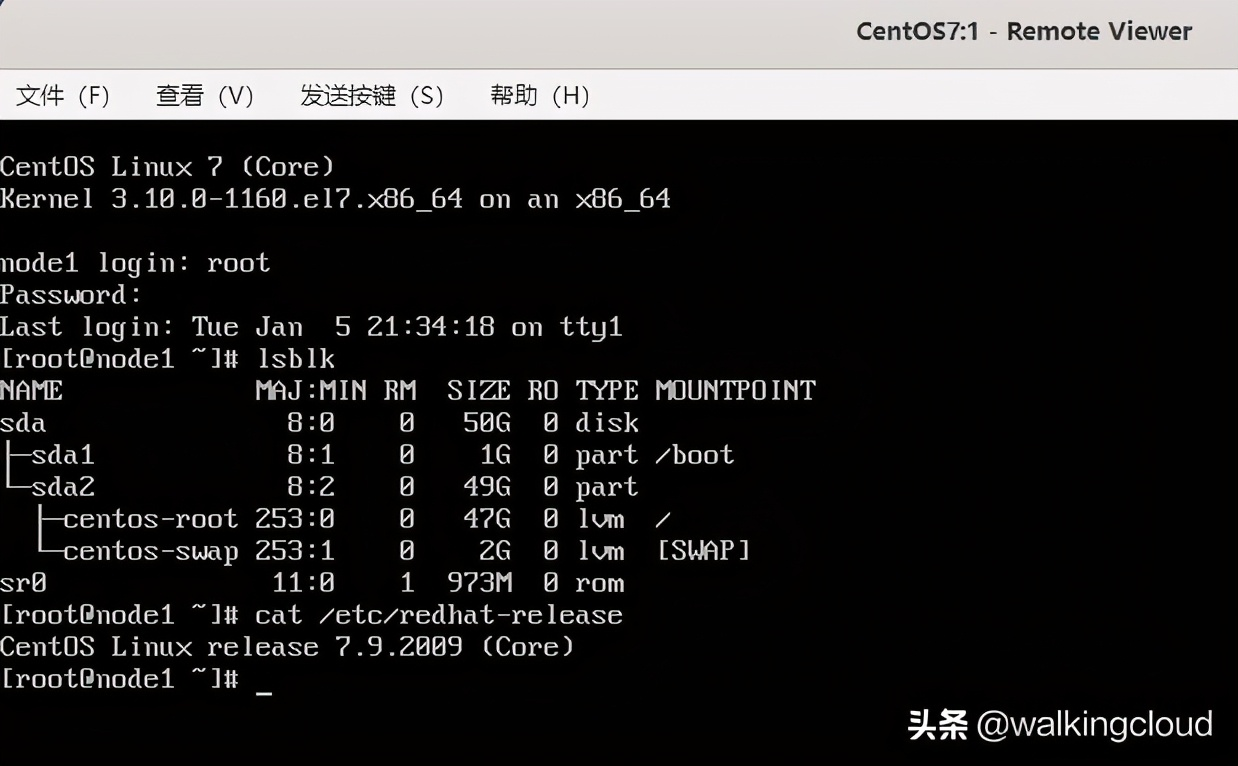
安装过程略,安装完成后截图
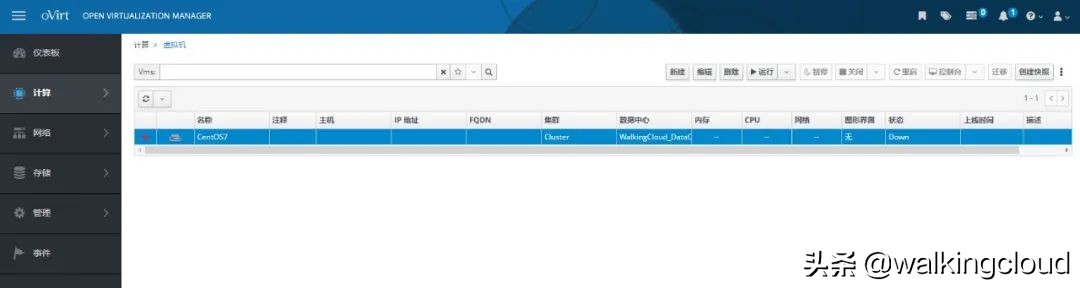
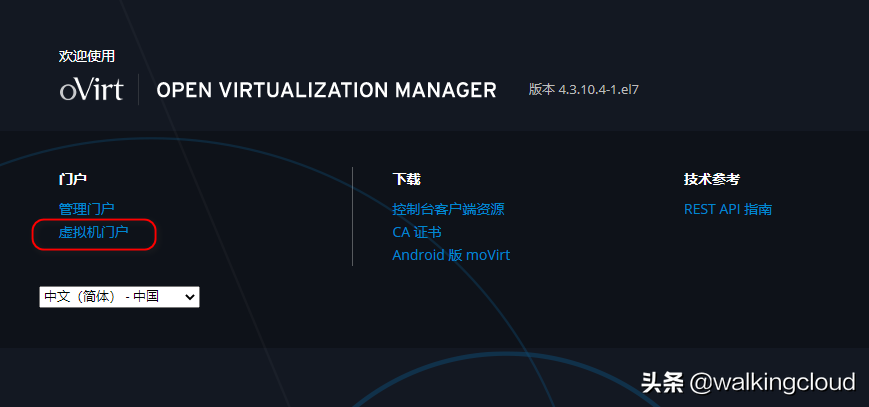
7、可以登录虚拟机门户
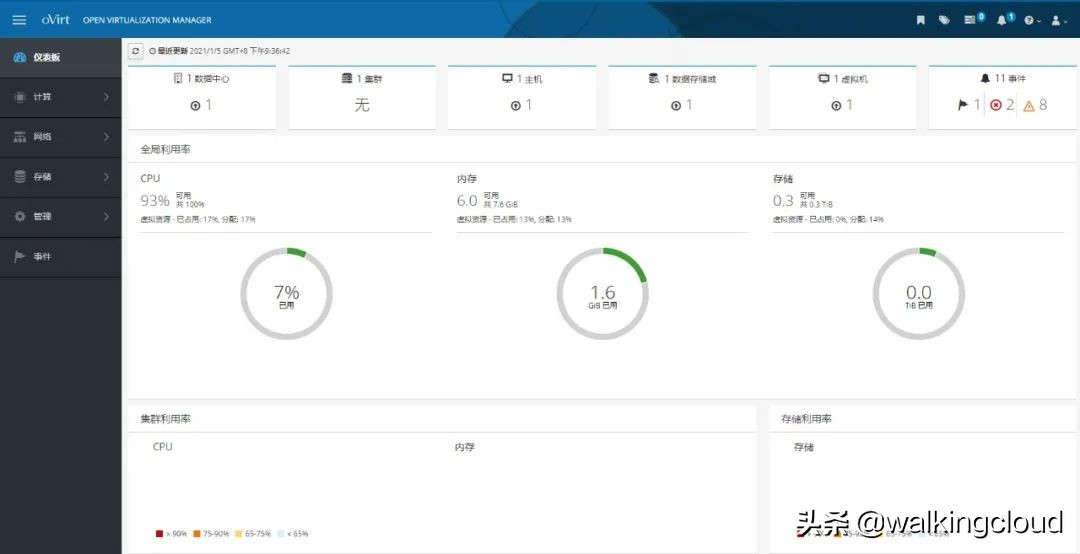
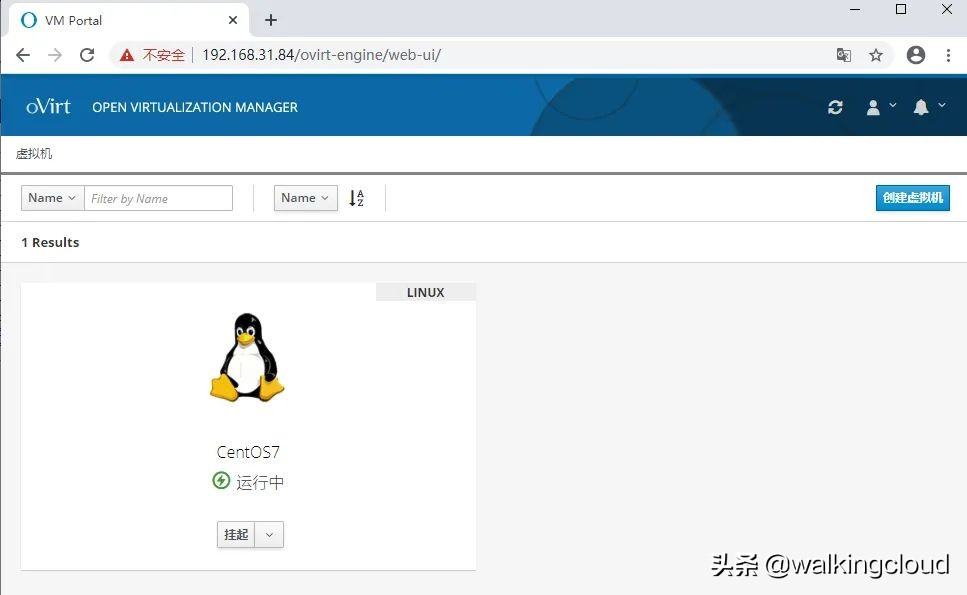
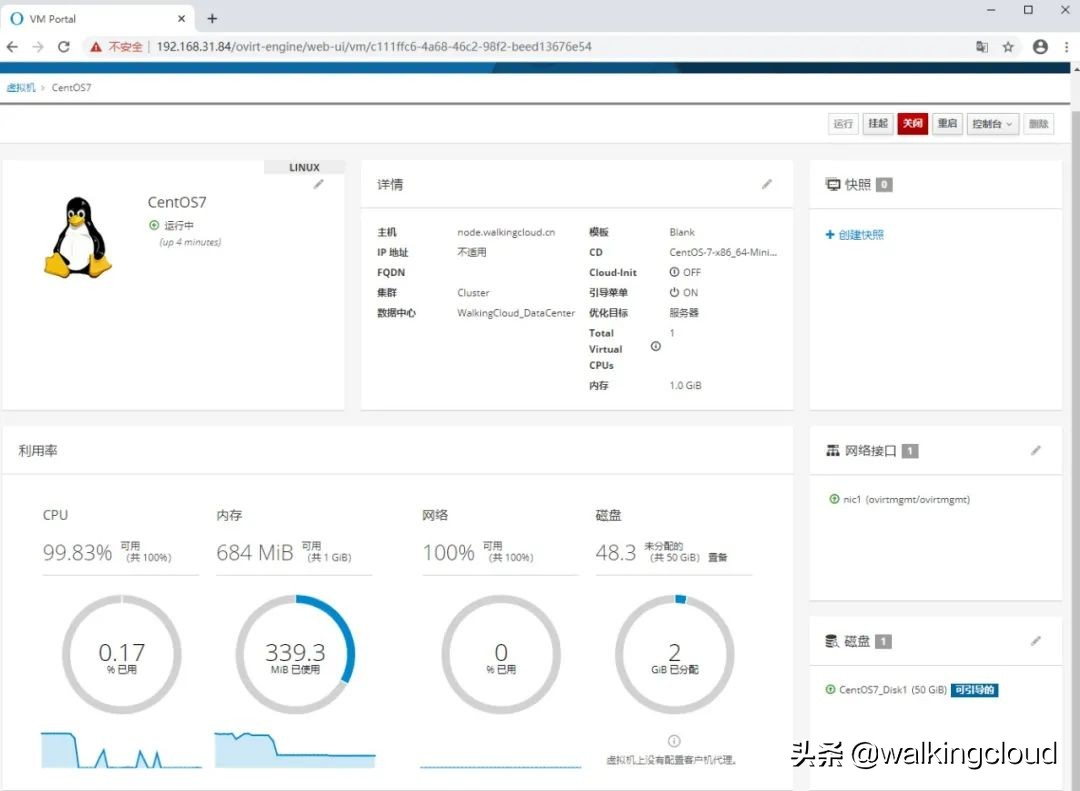
从上面管理门户退出后,点虚拟机门户登录
查看平台上的虚拟机视图


上篇:
没有了
下篇:
centos7上部署oVirt平台管理kvm
1 用AI全流程制作历史故事短剧,保姆级教程,零基础上手 2 跨境电商的疑难杂症,被1688这个AI全包了 3 vLLM + FastAPI:一个高并发、低延迟的Qwen-7B量化服务搭建实录... 4 一分钟教会你如何制作财神临门视频,简单出效果 5 Vaex :十亿行每秒的 Python 大数据神器,探索与可视化的新标杆 6 外贸人有自己的“度娘” 7 用豆包搞定连贯分镜头视频,超简单 8 最近很火的萌娃喊奶奶视频制作方法真的很简单 9 治愈系图文奶奶火了,简单几步批量出图,新人起号首选 10 人物画像统一问题怎么解决?古诗词视频制作,简单几步出效果 11 曝笑!AI制作的搞笑视频,居然这么简单 12 橘猫生活场景视频制作教程简单好上手